


WordPress site owners arguably all share one common desire: to get their content in front of as many pairs of eyes as possible, preferably without having to blow their entire marketing budget on advertising.
Social sharing provides you with the tools to make this fantasy come true by empowering your visitors to act as your ambassadors, and in turn, getting their own followers to check out your posts. A few buttons won’t magically make your site popular, of course, but roughly a third of the planet’s population have social media accounts – so why not try to leverage them to your advantage?
Setting up a social sharing solution for WordPress is pretty simple, so let’s take a look at two plugin solutions which will help you enable this function – one free, and the other premium.
Using AccessPress Social Share (Free)
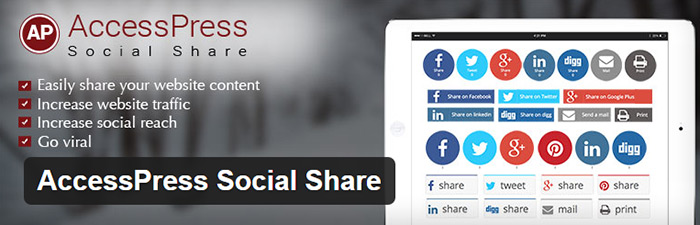
AccessPress Social Share enables you to implement a social media sharing solution on your WordPress site in just a few simple steps. The free version includes the option to implement sharing buttons for most major platforms, such as Facebook, Twitter, Google+, Pinterest, LinkedIn, and even Digg.
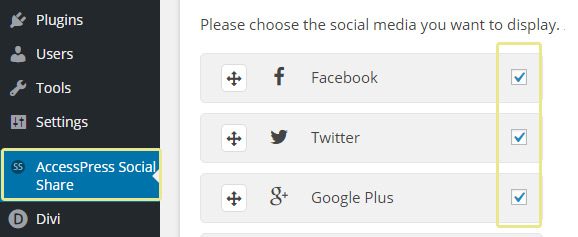
In order to get social sharing buttons up and running on your site, head over to the new AccessPress Social Share tab that will appear on your WordPress dashboard after installing and activating the plugin. In there, you’ll find options to configure every setting the plugin includes.
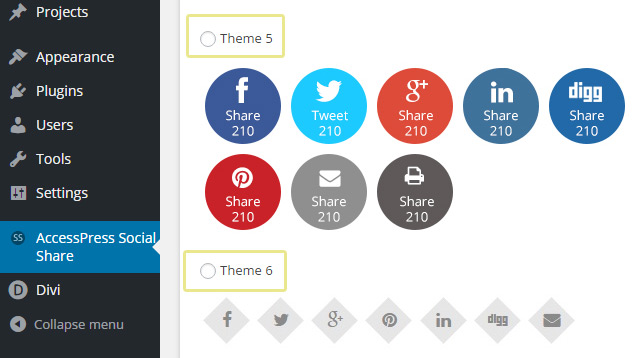
The main window, for example, provides you with the option to select checkboxes for whichever social media platforms you want to include, and also rearrange the order in which they will appear on your posts:
In case you don’t want these options to appear only on your posts, you can select which kind of pages they’ll be shown on by navigating to the Share Options tab. Inside, you’ll find a brief list of page types, including posts pages, front page, archives, attachment pages, categories, and more:
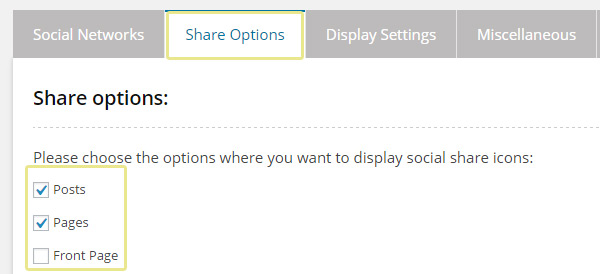
Once you’ve selected the pages of your choosing, remember to click on Save settings before moving on to the next tab.
As you might have gathered from its name, the Display Settings tab is where we get to play with the actual visuals of the plugin. You can choose whether to display your row of social share options above or below your content (or both), and pick from among six different styles for the buttons themselves:
There are three other tabs, but only one of them is relevant as far as setting up your new plugin goes: Miscellaneous.
There, you’ll be met with multiple advanced settings (such as disabling the plugin’s JavaScript and CSS files), which could come in handy for troubleshooting compatibility issues at some point. You can also add some text above your social icons, enable a counter to keep track of your shares, determine whether links should open in new windows upon being clicked, and create an email template for shares via the particular medium.
Using Monarch Social Sharing (From $69 Per Year)
Monarch Social Sharing is a fully premium option (bundled as part of an Elegant Themes subscription) that enables you to customize social sharing on your WordPress website through an in-depth dashboard. The end result is similar to using AccessPress Social Share, but Monarch provides you with many more customization options. Let’s take a look at them.
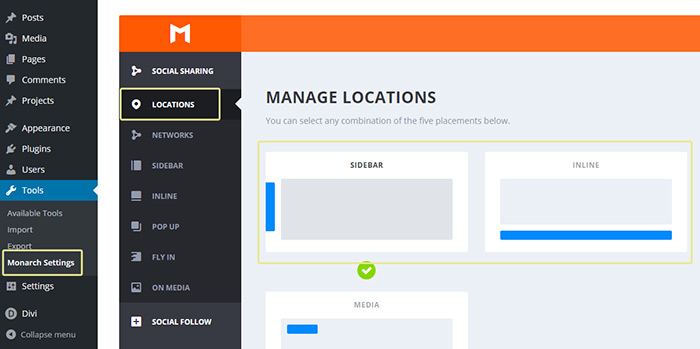
After installing and activating the plugin, you’ll find a new Monarch Settings option on the Tools tab of your WordPress dashboard. After you click on it, you’ll be sent to the Social Sharing settings section of your new plugin, and there you’ll be able to select where your buttons will be displayed:
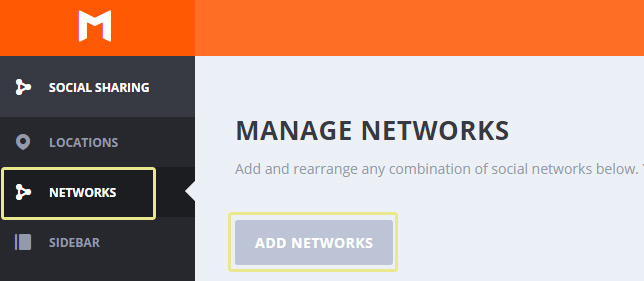
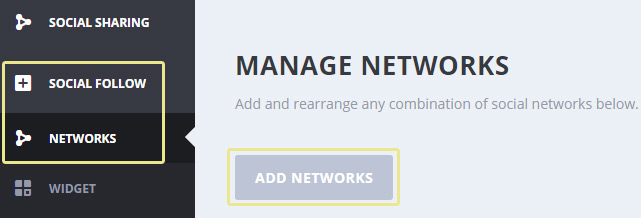
The plugin doesn’t come with any preset social media networks, so you’ll have to add the ones you want on the Networks tab. Once there, click on the Add Networks button and choose from among the 24 platforms available (including a miscellaneous Like option):
Depending on which location you selected for your social media buttons, you may also wish to check out the Sidebar, Inline, Pop up, Fly in, or On Media options to further configure how they will be displayed:
![]()
Aside from these Social Sharing settings, you may also wish to check out the Social Follow section, where you can add and customize the look of additional buttons for your own social media profiles:
Finally, the Main settings tab includes a few miscellaneous settings for your plugin. For example, you may customize the update interval for your social sharing counters (if enabled), and enter your Facebook API settings. This is necessary if you want the plugin to be able to obtain a share count from Facebook:
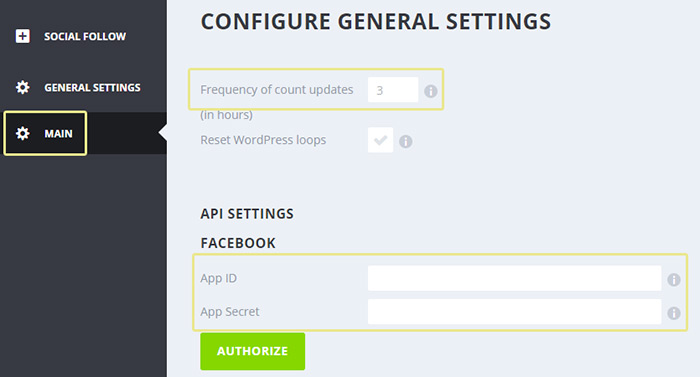
If you’re not familiar with the Facebook API, the Facebook for Developers page offers quite a thorough tutorial on the process.
Conclusion
Social media sharing may not catapult your site to the first page of search engine results overnight, but if you keep turning out high-quality content at a consistent rate, your visitors will reward you by recommending it to their own followers. So, don’t give up!
All you need to do in order to set up a social media sharing solution on your own WordPress website is:
- Choose a free or premium solution, depending on the features you require.
- Configure either AccessPress Social Share or Monarch Social Sharing.
- Watch those sharing counters rise!
Do you shun social media, or is it important to your business? Share your experience with us in the comments section below!


")